
How to Guide: Prepping Your Home for a Paint Job
Painting is a cost-effective way to transform a space and revitalize its appearance and ambiance. Although utilizing high-quality materials and tools is an important part of achieving a flawless finish, the key to a successful paint job starts with proper preparation. In this week’s blog, we will guide you through some important steps to prepare your house for a transformational paint job.
1. Clearing the Area of Work
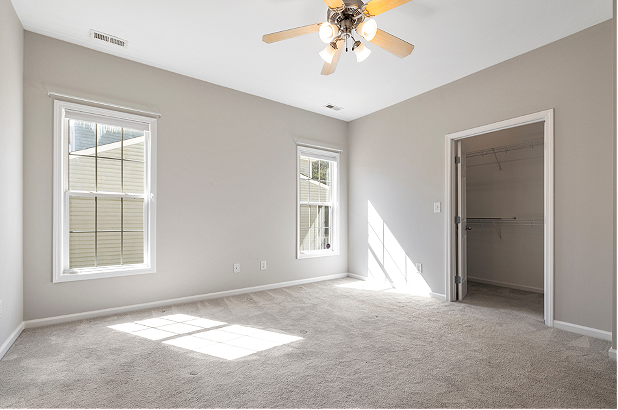
The first step to painting your house starts with clearing the area of work. Remove all objects that may obstruct the painting process or are at risk of getting splattered with paint. This includes paintings and other wall fixtures, decorations, furniture, and more. It helps to determine which pieces can be moved and dedicate a special zone in the home where you can relocate these items. If moving furniture is not possible, relocate all items to the centre of the room, providing a minimum of 5-6 feet of space around the perimeter of the room to allow you to work unobstructed.
During the clearance process, ensure you remove all nails, screws, shelves, TV mounts and other items that are secured to your walls as you will need to patch and repair all the damages prior to painting. It is also advised to remove light switch covers and electrical outlet covers wherepossible. It is generally good practice to keep the covers and screws for each roomin one place to mitigate mismatching later.
2. Protecting the Floor and Other Surfaces
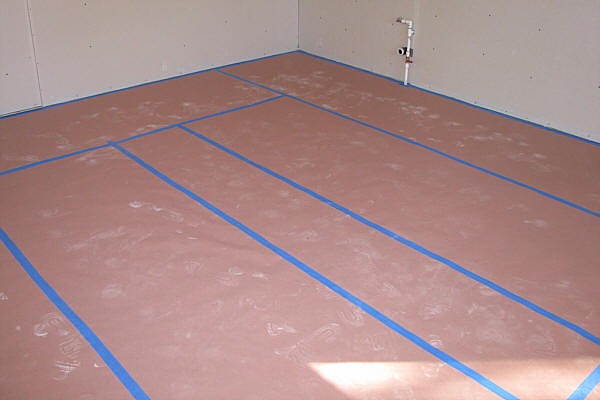
Lay out protective coverings around the perimeter of the room or across the entire room if you are planning on painting the ceiling as well. Protective coverings can be found at your local paint store or hardware store (within the paint section) and can range from construction paper, drop cloths, plastic sheets and more.
It is also critical to cover all other surfaces and/or furniture within the area of work.
Typically we advise using the following:
-
Construction paper around the perimeter of the room. Tape the constructionpaper to the floor with masking tape or frog tape every few feet to ensure thepaper is secured to the floor properly.
-
In some areas where we have carpets, we can cover the surface area with 3M plastic and tape all edges. Once the plastic is applied, drop cloths can be used adjacent to the installed plastic cover.
-
Drop cloths on the interior of the room allow you to safely walk around.
-
Protective plastic covers over other surfaces (e.g. countertops, vanities) and furniture.
-
When painting the ceiling, we advise you to double-layer the protective plastic for additional protection.
3. Protection for Fixtures
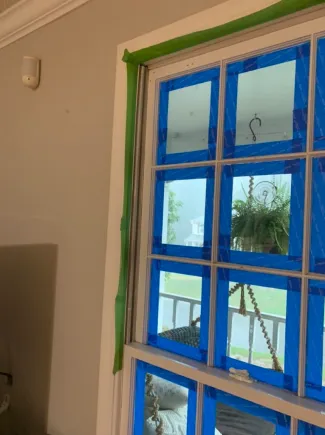
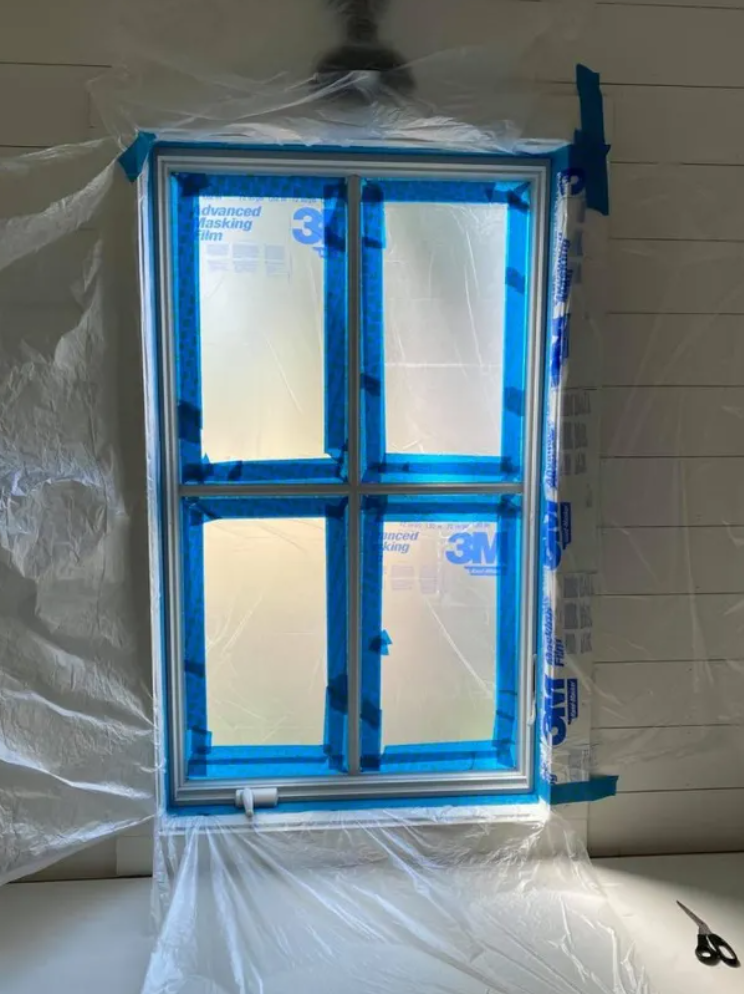
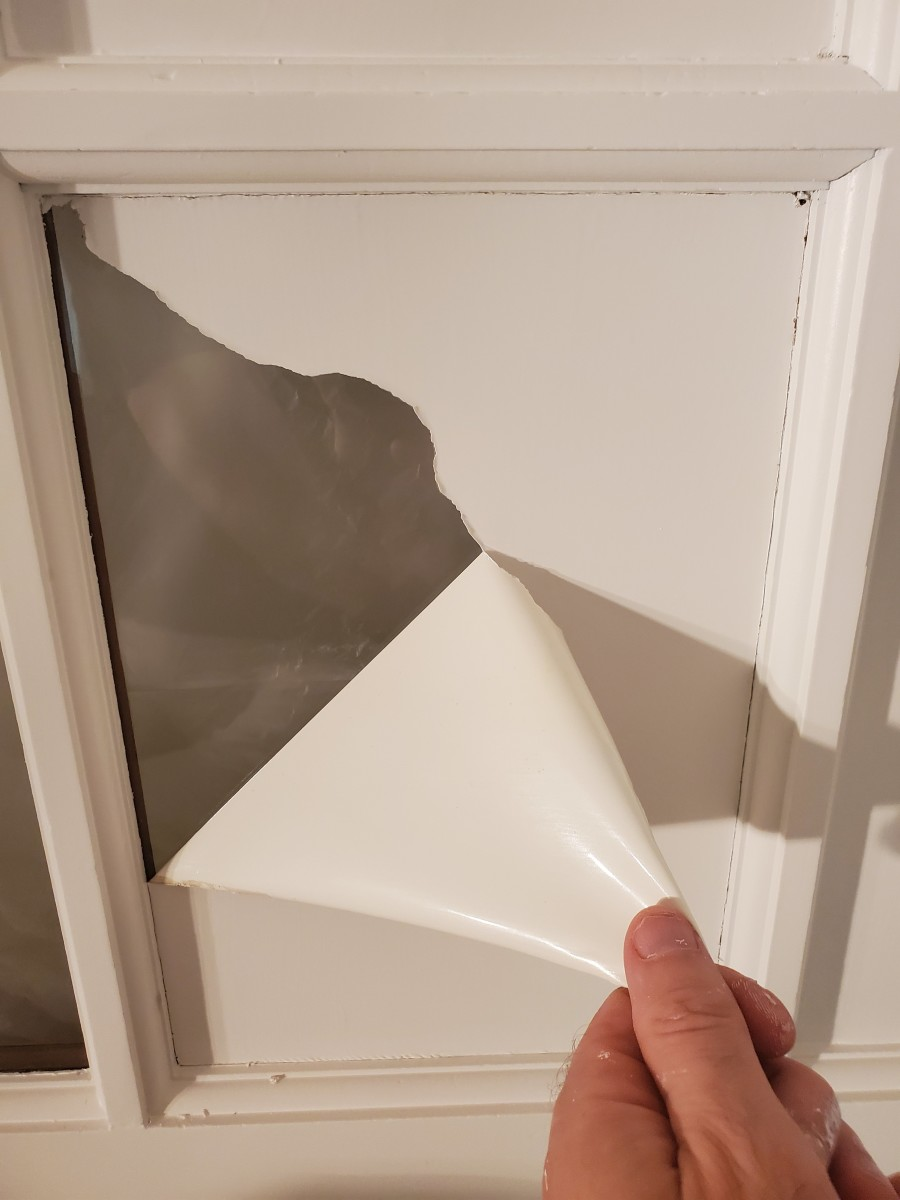
To prevent accidental paint splatters on non-removable items such as mirrors, light fixtures, and other non-paintable surfaces, it is advised you cover these areas. You can cover fixtures (i.e. bathroom mirrors, door knobs/hinges, wall/ceiling fixture edges, etc.) with plastic coverings to protect against drips and use masking tape for any surfaces you will work near. Also, another method for protection is a liquid mask. This method can be used on French doors and windows where it gets complicated to cover tight spaces.
4. Cleaning The Surfaces
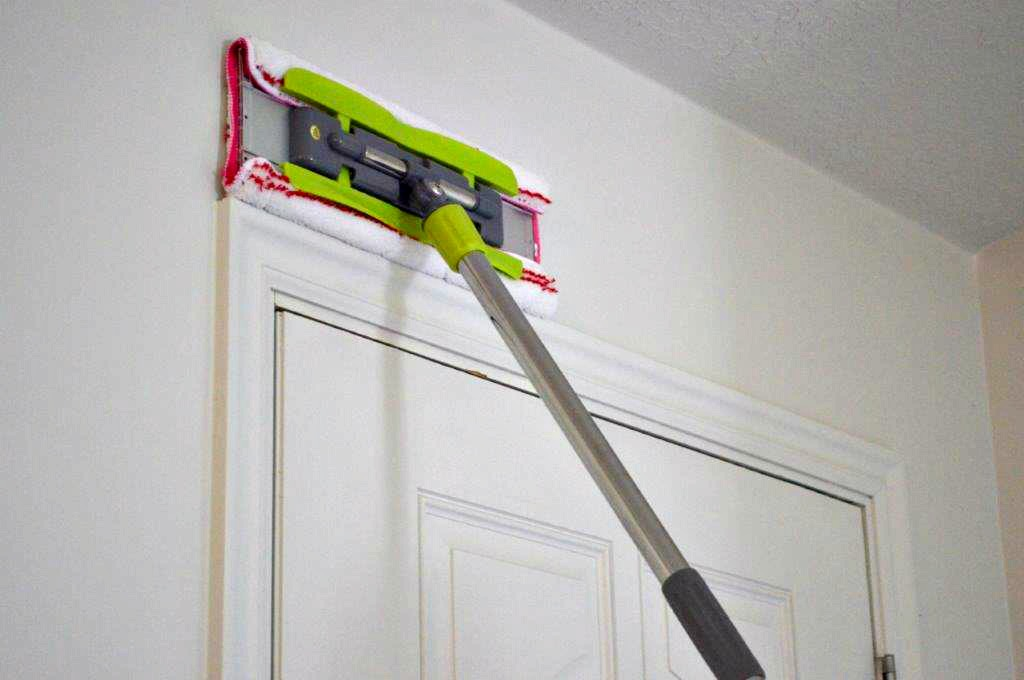
A clean surface is key to achieving a smooth and flawless paint application. Thoroughly dust all the walls, baseboards, trim ceiling and other surfaces prior to painting. In areas where you observe grease or mildew buildup (i.e. kitchen and bathrooms), use a mild detergent solution and sponge to clean the stains.
5. Repairing Damages
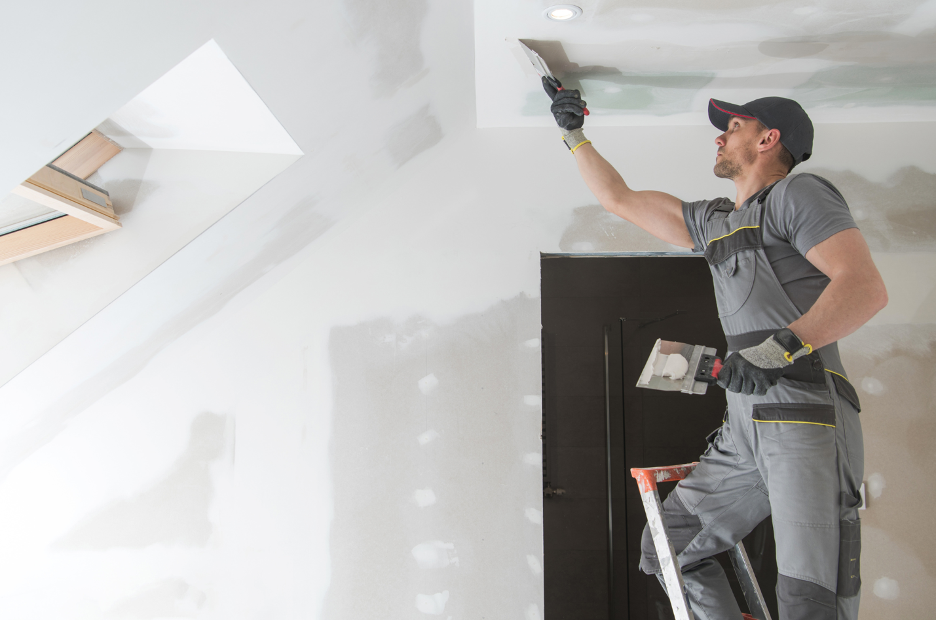
Thoroughly inspect all wall and ceiling surfaces for any damages such as cracks, holes, scratches or dents. Repair these imperfections by patching the area with plaster or spackle. Always ensure you patch an area larger than the damaged section to allow you to sand and feather the patch later for a more seamless appearance.
For damage to baseboards, doors or other wood surfaces, use wood filler to patch and repair these areas. The type of plaster or spackle you utilize will depend on the specific application. Your local paint or hardware store will be able to assist you in determining the best product for your application.
Once the patches have fully cured, use sandpaper or a sanding block to smooth out the area. The most critical step is ensuring the patch has been properly sanded and the edges are feathered, as this will ensure the patches are not visible once primed/painted.
If the damage is extensive, apply a second patch and repeat the process. Ensurethe patches are fully cured and sanded to perfection prior to applying any primer or paint.
6. Sanding & Smoothing for Adhesion
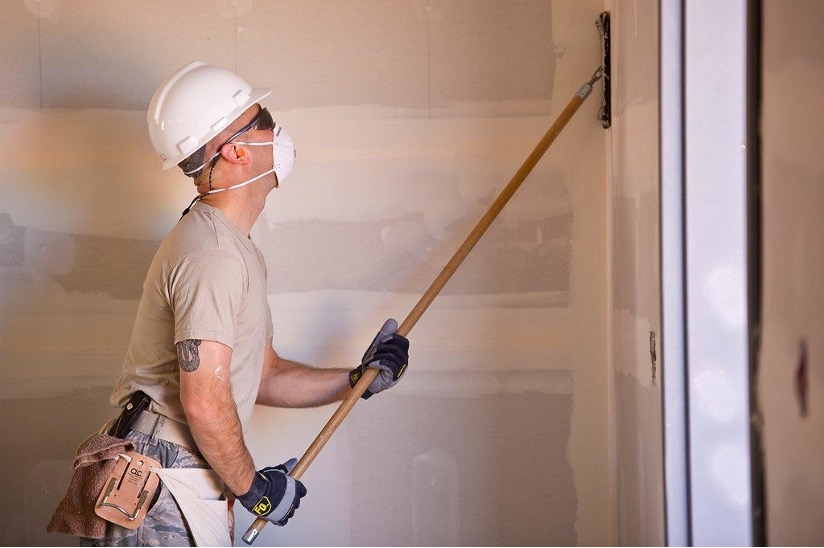
It is good practice to lightly sand the entire surface prior to applying primer/paint toensure superior paint adhesion. This step also allows you to address rough patches, ridges and other imperfections.
Caution: Do not forget to wear a dust mask and eye protection during this process. If extensive sanding is required, ensure you isolate the room to prevent dust from travelling through ducts/doors to other areas of the house.
7. Priming & Painting
Priming:
Priming is essential for a smooth, even finish, especially when transitioning between dark and light colors or painting over a stained surface. For a versatile and high-quality option, consider Benjamin Moore Fresh Start Multi-Purpose Primer or Sherwin-Williams Multi-Purpose Latex Primer. These products provide excellent adhesion and a uniform base for your paint.
Paint Recommendations:
For walls, opt for durable, high-quality paints that deliver excellent coverage:
- Benjamin Moore Regal Select Interior Paint: Offers a smooth finish, is easy to clean, and comes in a range of sheens.
- Sherwin-Williams Duration Home: Known for its stain resistance and washability, making it ideal for high-traffic areas like hallways and living rooms.
For trim, baseboards, and doors, choose a semi-gloss paint for added durability and a polished look:
- Benjamin Moore Advance Interior Paint
- Sherwin-Williams ProClassic Waterborne Interior Acrylic Enamel
Painting Techniques: Cutting vs. Rolling
Cutting In:
“Cutting in” refers to painting along edges and corners where rollers can’t easily reach. Use a steady hand and a quality angled brush to carefully apply paint along the ceiling, trim, and corners. Take your time with this step to ensure clean lines.
Pro Tip: Load your brush lightly and start about an inch away from the edge, then work your way closer to avoid overloading the area with paint.
Rolling:
Once the cutting-in is complete, use a roller to cover the larger surface areas. To achieve even coverage:
- Load the roller with paint evenly, avoiding drips.
- Start with a “W” or “M” shape on the wall, then fill in the gaps with straight, overlapping strokes.
- Apply light pressure to avoid streaks or lap marks.
Pro Tip: Work in small sections and maintain a wet edge to prevent visible lines where dried paint meets fresh paint.
8. Ensuring Proper Ventilation
Ensuring proper ventilation is critical to help facilitate the paint-drying process and prevent the buildup of fumes. You can provide proper ventilation by opening windows and doors where possible. In areas with limited ventilation such as basements, and spaces without operable windows (offices and condominiums), utilize fans or other ventilation systems to promote air circulation.
And there you have it, the ultimate how-to guide on necessary steps for prepping your property for a paint job. Be sure to ask your hired painting contractor if they offer full-service preparation as it is quite a large task. If attempting a solo project, always remember our cautions to avoid injury. As always, we hope you enjoy that new paint feel!
Why Trust Armada Services for Your Painting Needs?
At Armada Services, we pride ourselves on delivering professional-grade painting and renovation services to homes throughout the Greater Toronto Area. Our experienced team ensures every project is completed with precision, care, and attention to detail.
If you’d prefer to leave the prep and painting to the experts, contact us today for a free consultation. Let us help you bring your vision to life with a flawless paint job!
By following these comprehensive tips and tricks, you’ll be well-prepared to tackle your next painting project like a pro. Whether you’re updating a single room or refreshing your entire home, proper preparation and the right tools are your keys to success. Happy painting!